How to Condition a DIY European Oak Dining Table
About 5 years ago, I tried my hand at creating an antique farmhouse style finish for our dining room table. This was way before I had learned about layering paints or creating antique inspired patinas.
I was a new vendor just starting out and when my Mom and I found a table without chairs for $25 at one of our favorite shopping spots, I knew it would make a fabulous display piece for my booth.

While it had a gorgeous woodgrain on the top, I imagined the entire table painted white (naturally) with chippy legs and all.

Well, as luck would have it that table never sold, and I happily brought it home for our dining room. As you can see from this old photo, my first attempt at “white washing” the tabletop was rough. I can’t even talk about the dark wax application because it sends me into fits of giggles. Thankfully, I’ve learned a lot over the years through trial and error and have come to appreciate a great wax brush too.

I can’t even tell you how long it took to buff the wax down to a shine, but it gave me the aged look I wanted.

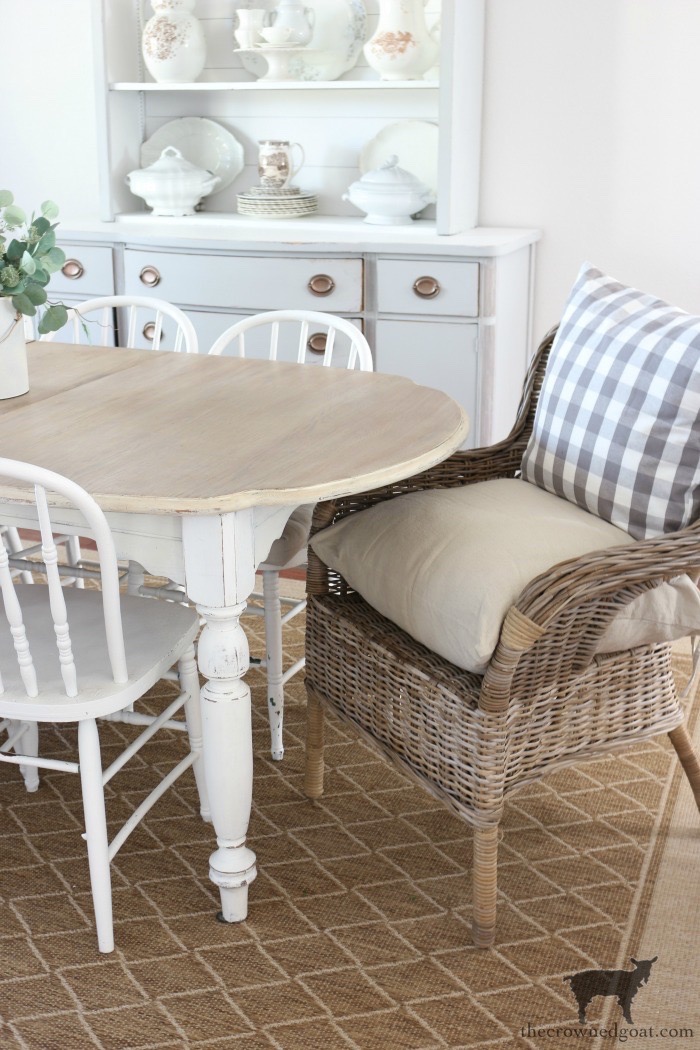
It’s been about 5 years now, and we still love the dining room table and the aged finish we created all those years ago.

Of course, the finish is not perfect. The table has had its fair share of “character” added with bumps, bruises and scratches over the years.

All in all, I would say the table is still holding up really well.

To keep the dining room table’s finish in good shape, we usually dust with a microfiber cloth. We take care of spills right away and use coasters to avoid the possibility of any water rings. About once a month, we use a damp (not wet) micro fiber cloth to further clean the table and immediately then wipe the table dry.

There are times, usually once a year, when we need to condition the wood. So, for that task we use Howard’s Feed-N-Wax. It’s a product one of my brothers in law introduced me to via a Christmas gift several years ago and it’s super easy to use. You simply, place a bit of Feed-N-Wax onto a cloth (a little definitely goes a long way)…

and wipe on your surface (the left does not have product on it yet, but the right side does)…

allow the Feed-N-Wax to stand at least 20 minutes, then wipe away the excess.

Next, you’ll use a clean cloth to polish.

That’s it! See, I told you guys it was easy.

As we’ve been working to give the dining room a makeover and create a more consistent color palette throughout our home, it’s been interesting to see what pieces we’ve kept over the years and what styles we’ve let go.

While I’ve definitely gone through a lot of different decorating phases, this European oak inspired dining room table has always been a staple and I know it will be for years to come.
Do you still have the pieces you DIY’ed back in the day or have you already traded up and out?

Many blessings,
CoCo


This room looks like its coming together Coco. I cant wait for the reveal. Your dining room tae is really pretty. I love the oak top.
When I had a shop, I found I priced things too high, that I actually wanted to keep, and what a keeper this one is. Gorgeous and the wood tips are good to know, thank you!
This table is beautiful. It has a farmhouse style yet feels elegant at the same time. Does that feed and wax work on other furniture? Thanks