Quick and Easy Lamp Makeover
We’re sharing a quick and easy lamp makeover today!
If you had a chance to follow along with the One Room Challenge Guest Bedroom Makeover, you know Week 6 was a tough one.
I literally had either a craft or a paint fail nearly every day 🤣
Most of the time the ideas I envision in my head work out in real life.
So, when they don’t, it tends to throw me for a bit of a loop 😉
While I’ve fully embraced all things “perfectly imperfect,” there are some ideas that are easier to let go of than others.
And since “love is in the details” for me, sometimes I can easily get hung up on them too.

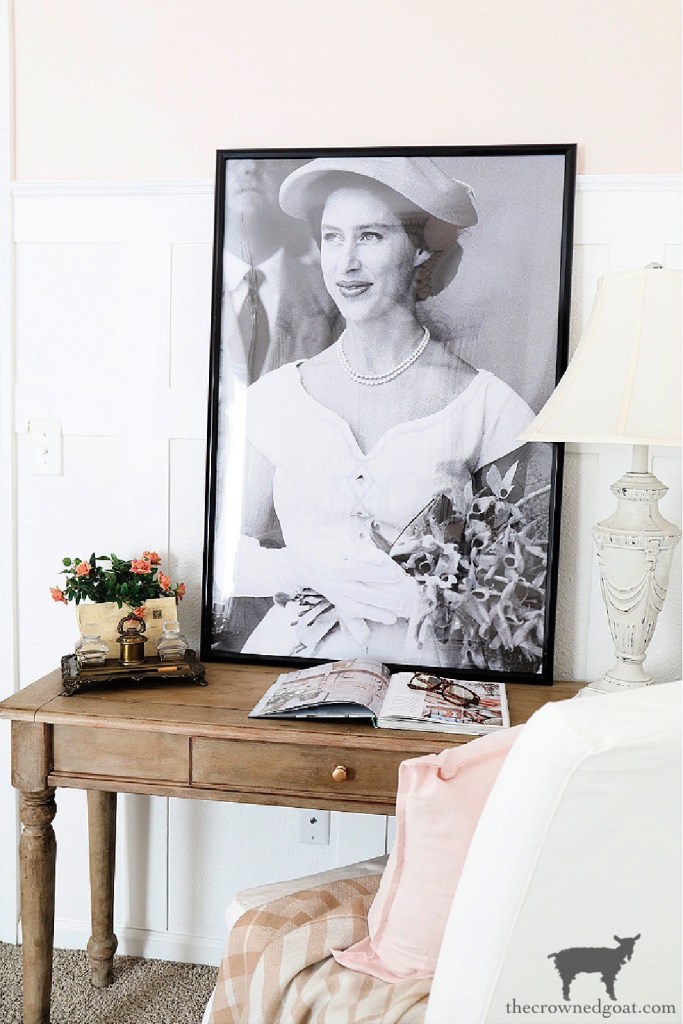
We’ve used these lamps in the living room for years.
In fact, I’ve had them so long I don’t even remember where I got them. I’m sure it was at some thrift store, charity shop, or antique mall though.

The lamps have beautiful designs on them but they’re really hard to see because the finish is so dark.
When we started the One Room Challenge, I committed early on to use as many things as we already had on hand.
And since we needed lamps for the room, I knew they’d be a perfect fit.
They just needed a little extra love.

Here’s a look at how the quick and easy lamp makeover came together (Try #1 and Try #2)…
Quick and Easy Lamp Makeover Supplies:
- Spray Paint or Chalk Paint (in 1-3 colors of your choice)
- Paintbrush (small detail art brush and 2” brush)
- Fine Grit Sandpaper or Sanding Block (we used 220)
- Clear and Dark Furniture Paste Wax
- Wax Brush or Lint-Free Cloth
- Painters Tape
- Paper Towel Rolls or plastic bags
- Scissors
- Dropcloth or Tarp (to protect your work surface)
Quick and Easy Lamp Makeover Steps:
Gather your supplies and lay a drop cloth or a tarp down to protect your work surface.
Next, using caution and care, tape around the lamp harp, bulb area, and lamp cord to protect them from the paint as paint is flammable.
I used the inside of a paper towel and stuffed it with plastic bags. You could also wrap this entire area up with a large plastic bag as well.
Make sure your painter’s tape is secure before moving onto the next step.

Try #1…
In Try #1, I painted the lamp using Krylon’s Fusion in Matte Glacier Gray.

I used two coats total and allowed plenty of drying time in between each coat.

Once the paint was dry, I used a small detail art brush and chalk paint in Cottage White to outline all the details on the lamp.

I allowed the Cottage White paint to completely dry, then I used a piece of 220-fine grit sandpaper to lightly distress the entire lamp base.

Full disclosure, I should have left the lamp alone at this point. Even the spray-painted one would have worked out ok too.
But at the time, I didn’t have either of the side tables from my Mom yet.

So, I added a bit of dark wax to give the quick and easy lamp makeover some “age” and I knew almost immediately I had made a mistake.
It was just too much.
Both my bestie S and my Mom loved them. But once I started putting the guest bedroom makeover together, it looked like Marie Antoinette called and needed her lamps back.
And as a result, it was back to the drawing board.

Try #2…
Given everything around the lamps was already pretty busy, I decided to try another quick and easy lamp makeover with Americana Décor Chalky Paint in Primitive.
I used 2 coats of paint and allowed plenty of drying time between each coat.

Then I sanded it with a piece of 220-fine grit sandpaper.

And finally called it good to go.

Keep in Mind…
Lamps are an easy way to help bring all the details of a room together. They can provide extra light, add balance, a bold statement, a pop of color or act as a whimsical accent.

More times than not, your vision for the room will evolve as the project does so don’t be afraid to keeping trying (or painting) things until you get the look you want. It will definitely be worth the effort!

Let us know if you have any quick and easy lamp makeover tips and tricks! Until next time, I’ll see you on Instagram, Facebook and Pinterest.
Other Quick and Easy Spray Paint Projects to Enjoy:
- Spray Painting 101: Simple Tips and Tricks
- How to Spray Paint Wicker Furniture
- French Country Painted Planter
- Easily Paint and Age a Silver Serving Tray
- How to Create Crock Inspired Paint Cans
Many blessings,
CoCo


The lamps are beautiful! I’ve had my share of repainting so this made me laugh. I swear sometimes it seems like peices get bigger because of all the paint layers. 😂
ha ha I know exactly what you mean, Michelle! I feel the same way about several pieces of furniture we have. It’s like you don’t want to get rid of them but they’ve been painted so many times it feels like they’re swelling. Sending you hugs and hoping your week has been a happy one, CoCo
your lamps turned out so pretty. I had several sets of similar lamps from the early 2000’s that were just too dark and heavy. I painted them out also, so glad I did, because their details are beautiful. thanks for sharing the proceess. pinned
Thank you, Debra! Truthfully, it took me a while to paint the lamps because I didn’t know what style I wanted and I definitely didn’t want to mess them up. Now that they’re painted though, I don’t know what took me so long. It worth taking the plunge and I’m excited to hear that yours worked out too! You know I love your style. Big hugs, CoCo
This is very much a “me” project — love the great bones of the lamps but would definitely have painted them white! They turned out absolutely stunning. Thanks for sharing at Vintage Charm. xo Kathleen
Thanks so much, Kathleen! I’m really thankful I took a chance on them. I swear I don’t know what took me so long 🤣 Hugs for a happy day, CoCo
Painting a piece of decor or furniture always seems like the ‘easiest’ solution, but the truth is, there is a LOT more involved than one might think. I give you total KUDO’s for taking on those lamps, CoCo! They turned out gorgeous and I LOVE that you shared both tries with us. The second one is definitely vintage perfection! Thanks for sharing!
Thanks so much, Christine! I’ve definitely had some craft fails in my time so I’m beyond grateful for the way these lamps came together. Every time I look at them now I think – “What took you so long!” 🤣 Can’t wait to follow along on all your painting adventures too. Big hugs, CoCo
I love this idea. I am always coming across lamps like that that could be redone, but I never think about that. This gives me a lot of inspiration!