No Sew Pom-Pom Curtains
We’re sharing how to make no sew pom pom curtains today!
This season, I’ve been thinking about how we can add little tweaks here and there to make our home feel rustic yet refined, simple yet organized.
My word of the year is elevated.
So, I’ve slowly started refreshing some of the spaces of our heart and home with small budget-friendly projects.
One of the biggest changes I wanted to make in one of the bedrooms was to change the fabric for the bed crown and curtains.
I loved the print I had previously used in there.
It’s from Waverly called Ballad Bouquet in Platinum.

After nearly six years of staring at the same print, though, I was ready for a change.
Thankfully, I was able to transition the curtains to one of the bedrooms at my childhood home, Loblolly, so I can still enjoy them.
I thought the search for new fabric would be an easy one.
It took me over a year to find a replacement, though.
And honestly, I found it in the most unlikely place.

French Country Curtain Inspiration…
One day while flipping through the pages of a magazine dedicated to French Country style, I caught a glimpse of the prettiest camel and ivory check curtains with pom pom trim.
And I immediately fell in love.
The panels were custom panels, but I knew I could make my own.
So, I set about searching for just the right shade of camel and ivory to go with my French Linen painted bed crown and headboard.
When I finally found the fabric, it was wildly expensive.
Not to mention, I was having trouble sourcing the exact shade of camel pom pom trim.

I was just about ready to give up when I spotted a camel and white tablecloth with pom pom trim from Amazon.
I knew it would be a long shot.
Nevertheless, I decided to take a chance and repurpose the tablecloths as curtains.
Not only were they perfect for the space, but they were also budget-friendly as well.
All in all, I bought 6 tablecloths, and they were a quarter of the price of what the fabric and pom pom trim would have been combined!
Honestly, this is one of those project ideas that doesn’t really need a tutorial.
But I know they’re always helpful.
Here’s a look at how to create no sew pom pom trim curtains.

How to Create No Sew Pom Pom Trim Curtains
**(Amazon affiliate links have been provided for your convenience. As an Amazon and Impact Media Associate, I earn from qualifying purchases. Any sales made through such links will support us with a small commission at no extra cost to you. You can read our full disclosure policy here)
Supplies:
- Tablecloths with Pom Pom Trim (other colors available depending on size, I bought the brown and white)
- Curtain Rod Hooks with Clips (other colors available, I bought the black)
- Steamer, optional (my Mom has and loves this steamer)
Steps:
Remove the tablecloth from the package.
Then, secure the curtain rod hooks onto your curtain rod.
Next, attach the tablecloth to the hook clips.

Finally, if your fabric has wrinkles, consider steaming them out using a steamer, a wrinkle release product, or simply allow the wrinkles to fall out naturally.
All in all, I’m excited about the way these DIY no-sew pom pom trim curtains came together.

While they don’t block out a lot of light, they were a budget-friendly solution that changed the look of the entire room.

Plus, I love that they have a bit of texture and are a neutral color, so they can easily be dressed up or down.

I still have a few other projects I’m working on for this space.
For now, here’s a sneak peek of how the bed crown curtains came together.
I’ll share more once I’ve decided on the bed linens.
Let us know your favorite budget-friendly home décor hacks.

Other No Sew Posts to Explore…
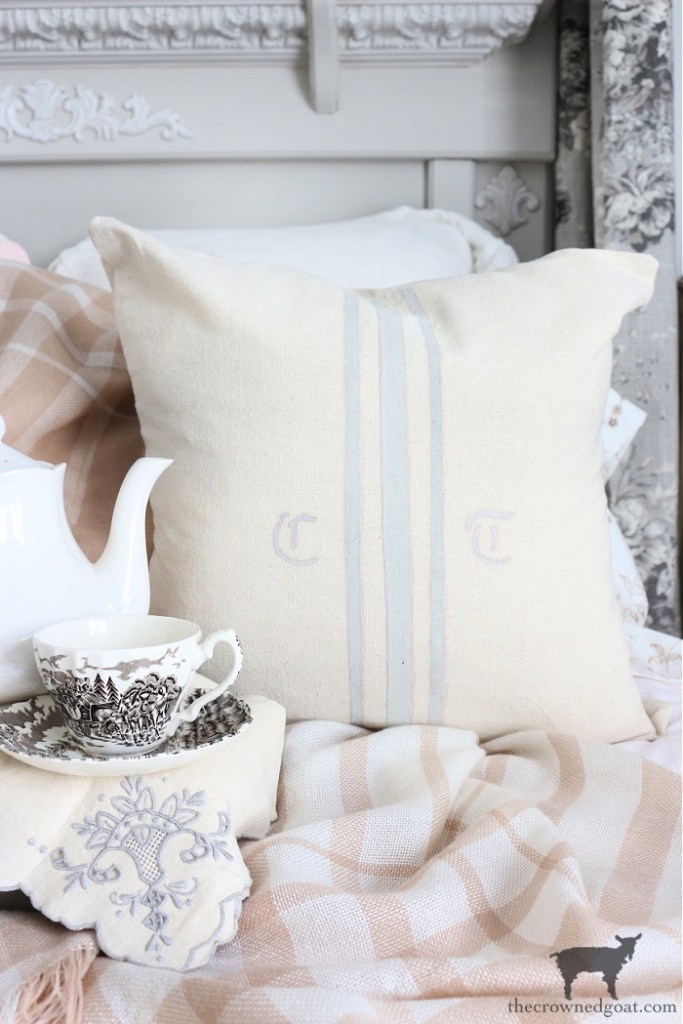
Vintage Inspired No Sew Monogrammed Pillow Covers

No Sew Grain Sack Inspired Pillow Covers
Until next time, I’ll see you on Instagram, Facebook and Pinterest.
Many blessings,
CoCo


CoCo – your curtains look beautiful! They really do transform the window and enhance the room. And don’t even get us started on the pom-poms! The look amazing!
You guys are awesome, I’m so into these pom poms let me tell ya! It’s going to be pom poms everywhere now that I’ve discovered this fabric glue. Hugs, CoCo
That’s totally my kind of sewing!
ha ha thank you Stacey! I’m ready to “no sew” tons of things now 🙂 Hugs, CoCo
I just bought some stitch witchery! Hoping it would be easy to hem my curtains. Love this project!
The stitch witchery worked like a charm for adding the pocket rod hem on the top but not so much on the pom pom trim. If you’re going to add a trim to your curtains the fabric glue may be better for you. Hugs, CoCo
I loooove those Coco! What a beautiful look they give the window!! And the pom-poms are just so darn cute but sophisticated looking. Enjoy your new curtains 🙂 Hugs, Lisa
Thank you, Lisa! I’m really excited about how they came together. It makes me want to put pom pom trimmed stuff all over the house. Hugs, CoCo
Oh my gosh Coco, I totally love these! I’ve been wanting a set of these but every time I see the premade ones they look so cheap. These are beautiful and they look fabulous! I will be making a set of these for myself! Thank you for the inspiration!
Cat
Thanks so much! They were definitely easier to make than I expected, Cat. The fabric glue helped a lot especially when applying the trim part. I don’t know how it will hold up in the wash but it was a great time saver 🙂 Hugs, CoCo
Love the look and how easy was. Straight sewing and I are not always friends. P.S. I adore the old door table you made. The legs are perfect match. Pinned!!
You’re so sweet, Michelle, thank you! This has definitely been a great project to put together. It makes me want to put pom pom trim on everything ha ha. Hugs, CoCo
Thank you so much, Sally. We’ve used Dritz Liquid Stitch Permanent (not the glue stick) and a few of my friends like Aleene’s fabric tacky glue. I’m so ready to put pom pom trim on everything now 🙂 Hope your day has been a fun one, CoCo
I always appreciate your sweet comments, Mary, thanks so much! I was able to get the broadcloth fabric, pom pom trim, fabric glue and webbing (for the hem) all at Hobby Lobby. Some of the items were already on sale and when you add the 40% off coupon it really helps. Can’t wait to see how yours turn out. Hugs to you and Doodles, CoCo
They are beautiful! Using a tablecloth is pretty brilliant!! 😊