Ballard Designs Hack: Tufted Bench Makeover
Today we’re sharing a simple Ballard Designs Hack: Tufted Bench Makeover!
As we inch closer to completing our Master Bedroom Refresh Ideas, I thought it would be fun to revisit a few projects from the original One Room Challenge Master Bedroom Makeover Reveal.
While we made it in the knick of time to take the final reveal photos, there were still a few items left on the “to finish” list once the One Room Challenge had ended.
And the Ballard Designs Hack: Tufted Bench Makeover was one of those projects.

Creating a Functional Bedroom Seating Area
At that time, my mom helped me stage the bedroom so we could see how the items we had been collecting would come together.
One of our biggest goals for the bedroom makeover was to have a seating area for late night work and gab sessions, a cozy place to watch tv and to have an extra place to relax while getting ready in the mornings.
This is how the seating area looked for the original One Room Challenge Bedroom Makeover post…
This set up in theory would have worked had we needed only a spot for morning coffee, afternoon tea or a glass of wine in the evenings.
But in reality, the antique table was just too small for the late night work sessions.

One day, my bestie S was flipping though the Ballard Designs catalog and came across the Savona Bench. Sure enough, it would make the perfect addition to the master bedroom seating area.
However, there was no way the bench would make it in time for the final reveal photos to be taken.
S thought we may be able to pull off the look with a few scrap pieces we had out in the garage though.
At the time, I knew it was a long shot. But it was our only option and I’m happy to report it’s a piece we continue to use nearly every day.

Here’s a look at how we created the Ballard Designs Hack: Tufted Bench Makeover…
*This post was updated on June 3, 2020; original post date May 16, 2017
Tufted Bench Makeover Steps:
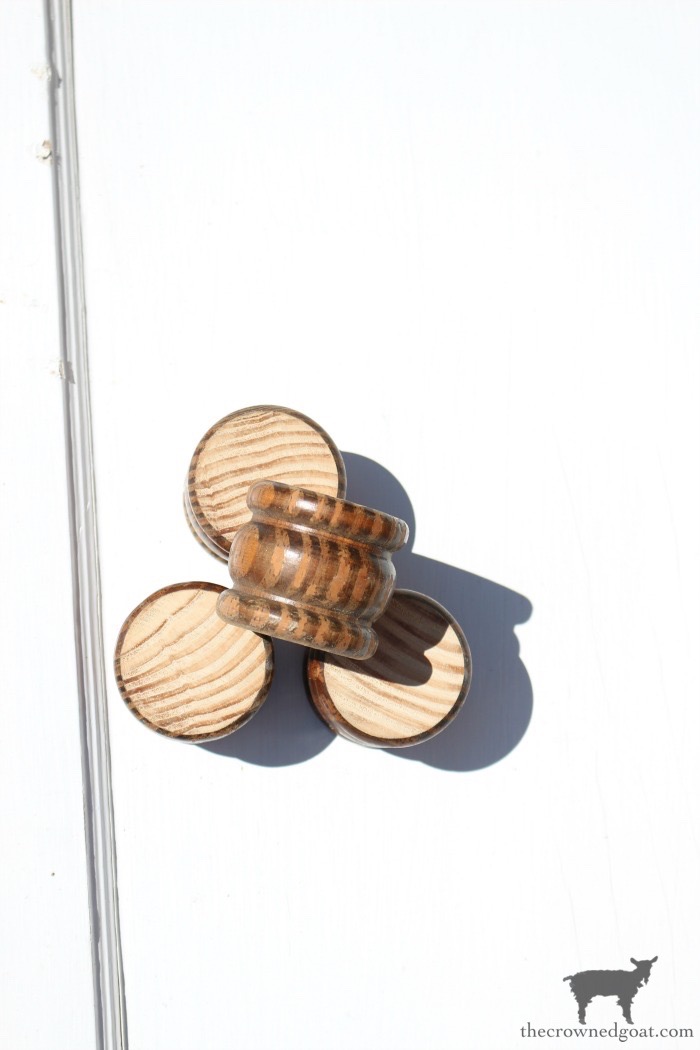
We took the 2 drop leaf pieces from an old gateleg table…

and married them with legs we had left over from another project.

We used our chop saw to take the ends of each leg off (always use caution and care when using power tools and diy-ing)

in order to repurpose them as feet for the tufted bench.
Next, we used our drill and wood screws to secure the feet

and the legs in place.

Tufted Bench Topper Steps:
S used fabric glue to secure a washed canvas drop cloth to a piece of foam we picked up at Hobby Lobby using our 40% off coupon.
As always, use caution and care when working with sharp objects like scissors and needles.

Once that was in place, S hand sewed the drop cloth covered buttons onto the piece of foam to create the tufted look for the bench topper.

Given I can’t even sew a button on a shirt, it was pretty impressive to watch.

Creating a DIY European Oak Finish:
I had originally painted the base of the tufted bench in Valspar’s English Tea Party. A t the time, it was the same color as the tv armoire we turned into a functional wardrobe.
It wasn’t bad at all but it felt kind of heavy given the bed frame has a dark brushed gray metal, the dresser beside the seating area was black and the club chairs in the seating area were charcoal gray.

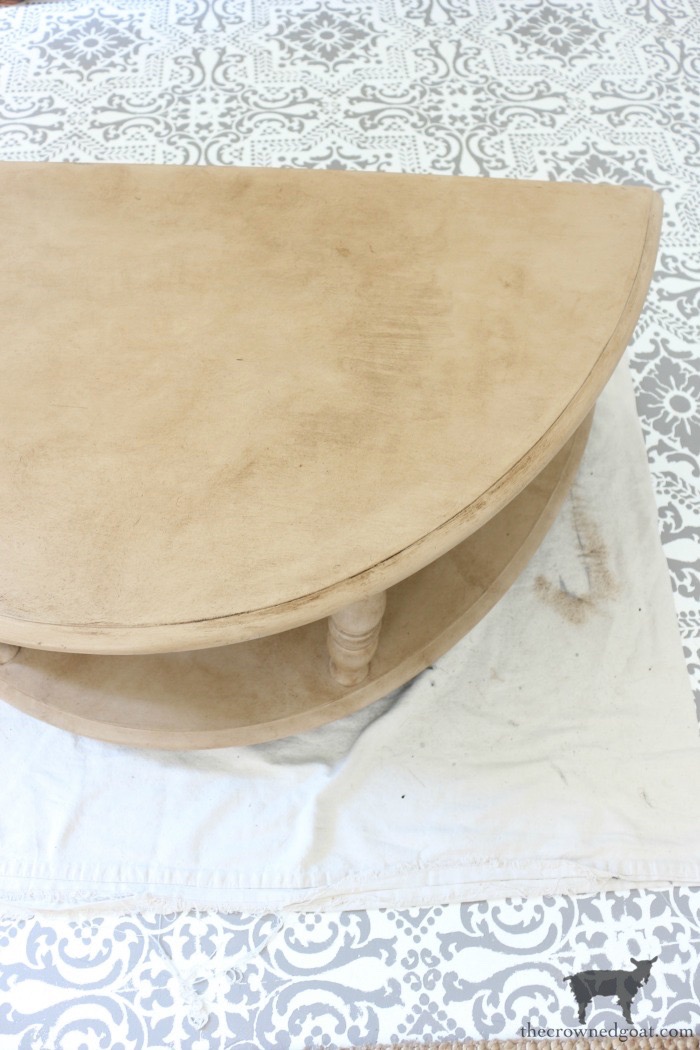
Determined to create a look that was a little closer to the Ballard Designs inspiration piece, I painted the entire bench with Valspar’s Faint Maple.
This is how it looked after one coat of paint.

Next, I lightly sanded with a piece of fine grade steel wool

then I brushed a coat of dark furniture paste wax directly into the paint.
Just a heads up, if you’re new to dark furniture paste wax, you’ll want to start with a coat of clear wax first. It will be much easier to fix any mistakes that way!

This is after one coat of wax…
and this is after two.

Adding Patina to the Bench Legs:
To create the look of layered paint and patina on the legs,

I brushed a custom mix of General Finishes Seagull Gray into the nooks of the legs,

I let the paint dry for just a few minutes and immediately wiped the excess paint off with an old t-shirt

before brushing over the paint with dark paste wax.

It’s not a huge change but it does allow for a layered look if that’s the kind of thing that makes your heart sing.

And bonus, the tufted bench topper can be removed as needed which is a great option when you have dogs and movie nights with buttery popcorn and M&Ms.

All in all, I think it was a good decision to repaint the bench even though it meant a little extra work.
It’s exciting to see how things are finally coming together. I’ll have the reveal ready for you later this week.
Until then, here’s a sneak peek…

Let us know what you’ve been working on lately! Until next time, I’ll see you on Instagram, Facebook and Pinterest.

Other Master Bedroom Makeover Posts:
- The $12 Library Hutch
- DIY European Farmhouse Mirror Makeover
- Creating Faux Bronze Hardware
- Simple Nightstand Makeover in Primitive
- Bedroom Office Space Tips & Tricks
- How to Stencil Concrete Floors Like a Pro
Many blessings,
CoCo


Hey sweet lady, it’s SO good to hear from you! I never paint a piece of furniture without thinking about you. Sending you big hugs, CoCo
Gee, Coco…I’m amazed that you tackled this, what a great idea though. We are going to redo our living room this summer, and I think we can tackle our coffee table. I think reducing the size, might be perfect and I sure love how you did this! I imagine that Ballard table was a bit pricey, and here you have one for practically nothing but sweat, screws and paint…LOL. Hugs, and have a great week! Sandi
You’re so sweet, Sandi, thank you! I was super worried about pulling this coffee table makeover off but I’m beyond thankful we were able to work it out with mostly scrap pieces from the garage. I swear things start adding up so quickly you don’t even realize how close you’re getting to the top of your budget 🙂 Can’t wait to see how your living room comes together. I know it’s going to be totally fabulous! Hugs and happy week to you too, CoCo
This looks amazing!
Thanks so much, Josiah!
This looks amazing and I never would have guessed you just used dark wax over the paint to create that Ballad look! Fabulous!
Thank you, Jayne! It’s been such a great piece for the master bedroom sitting area and to know we made it mostly from scraps makes it extra special. I swear there’s something that happens to us when we’re forced to be super creative while under time restraints 🙂 Hope your week has been a peace-filled one, CoCo
Great Hack! Love how it turned out. Look for your feature on Wednesday’s Charming Homes & Gardens Link Party
Rachel
What a sweet and thoughtful surprise, Rachel, thank you so much! It’s a piece we use every day, multiple times a day, so I hope other people will feel like they can make something similar too. Hugs and thank yous, CoCo
This is brilliant! It turned out so cute and classy! I love Ballard Designs and love the inspiration to make my own in their style! Thanks for sharing at Charming Homes & Gardens!
You amaze me every time CoCo! I love how you used the dark wax over the paint. Thank you for sharing with Charming Homes and Gardens.
I really appreciate it, Kim, thank you so much! Hugs for a happy week, CoCo
I loved that you were able to create this gorgeous tufted bench by repurposing items you already had on hand. The Faint Maple color added the perfect finishing touch for this wonderful statement piece!