Prepping a Concrete Floor for Stenciling
Thank you guys so much for all of your sweet words of support and encouragement from our post on the One Room Challenge Week Three Progress Update. We are doing this challenge in real time and while most days we wake up ready to tackle whatever is on the project list there are other days when we feel overwhelmed by the sheer number of items still on the list. Anyway, your kind words really helped me to keep going last Thursday when I had to spend the day ripping out the rest of the carpet in the bedroom. It was so much work but we finally made some headway and prepped the concrete floor for stenciling. Here’s a behind the scenes look at that part of the process…

I may have previously mentioned we struggle with pretty bad allergies. The flooring in the majority of the house is hand scraped walnut and having hardwood floors throughout save for carpeting in the bedrooms and office and tile in the bathrooms has really been a blessing. We still have a few boxes of our original flooring but it’s not enough to complete the master bedroom project. So while we try to decide if we should replace the carpet in the other rooms with the same hand scraped walnut we’ve been using in the rest of the house or if we should consider more tile or possibly just replace the old carpet with new carpet we’ve decided to paint and stencil the bedroom floor to hold us over in the meantime.

Painting and stenciling a concrete floor seems like it should be pretty seamless like all you have to do is break out your carpet cutter and get started. But underneath that carpet is a lot of padding that also has to be hauled out

and pretty soon, there is a huge pile of carpet on the front lawn that makes your yard look like a construction site.

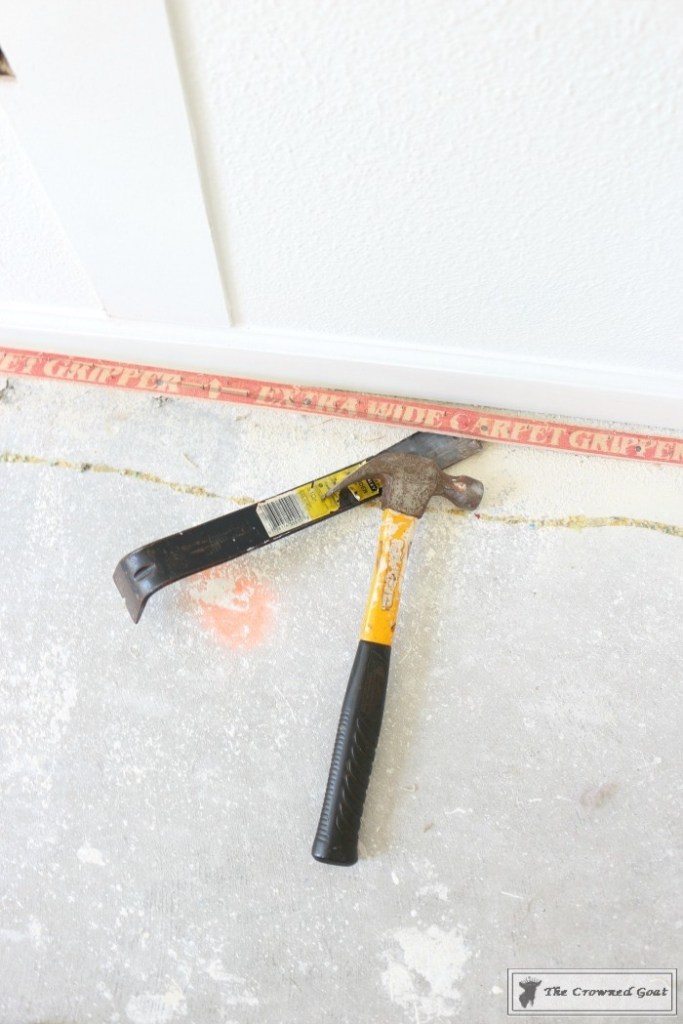
After you get all of the carpet and padding out of the room, you have to remove the carpet tack strips and let me just tell you, they are really sharp so using caution and care is a must. We used the Wonder Bar by Stanley and a hammer to take up the carpet tack strips. Goodness gracious, you guys, this part takes a while. We had a construction trash bag at the ready so we could place the tack strips and nails directly into the bag. You’ll definitely want to keep children and pets out of this area while you’re working.
At this point we were so excited to be finished removing the tack strips, we were ready to run inside, clean up the dust and settle in with a piece of chocolate cake

but out of the corner of our eye we noticed what looked like a string of ants going down the side of the room which turned out to be carpet glue.

Next we noticed the small crack in the floor

which of course had to be patched.

And don’t even get me started on the huge spills of paint left on the floor by the contractor. Right? That was under the carpet! We spent ALL of Friday sanding and scraping the floor. Just a heads up sanding and scraping concrete creates an extraordinary amount of fine dust….like sugar sand kind of dust so that means wearing protective eye wear and a heavy duty respirator is a must!

After we finished sanding, scraping and patching the concrete floor, we pulled out the shop vac and vacuumed any remaining dust or concrete particles off the floor.

Saturday morning, we started painting the floor in Valspar’s Porch and Floor Paint. We had it tinted and matched to Ultra White which is the same color we painted the board and batten.
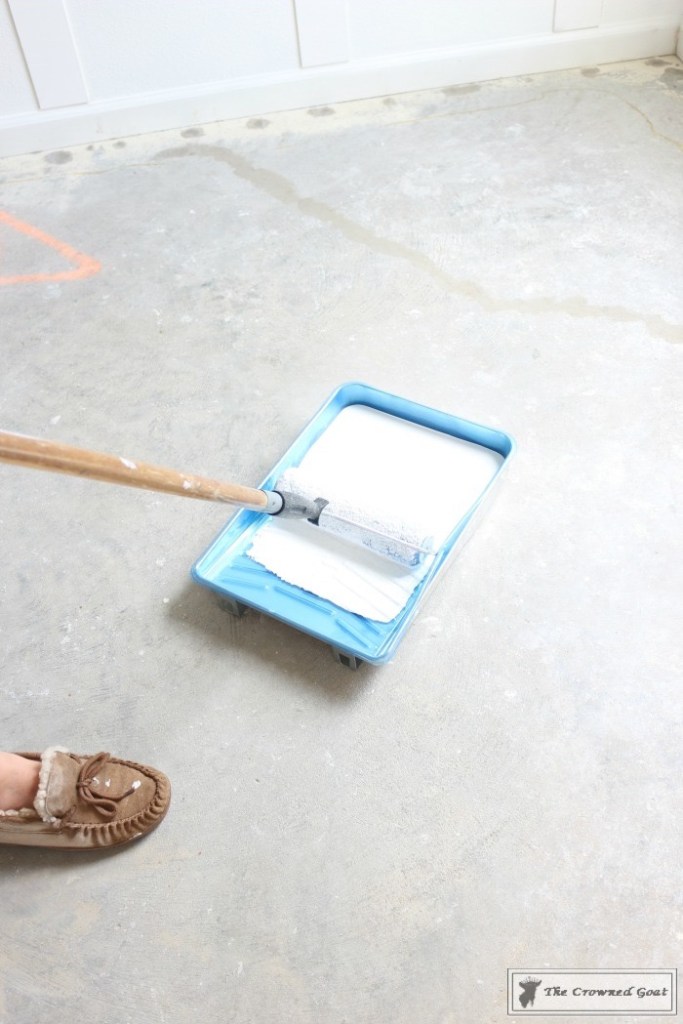
It immediately made a huge difference!

Two coats of paint and a day later, we were ready to start stenciling. I’ll share that process with you tomorrow. Until next time, I’ll see you on Instagram, Facebook and Pinterest.
Many blessings,
CoCo


Wow CoCo – that is a lot of work. We were just having a terrible flashback to when we lived in North Carolina. All three of us were working on our home to pull up the carpeting throughout the house to expose perfect, mint condition wood floors. Except those darn tack strips. We all swore “never again” LOL Can’t wait to see your stencil design!
ha ha oh my gosh you guys, it’s the pits, right? We thought we were never going to get those floors prepped and ready for painting. It was like DAYS of work. I’ve never even used a crow bar so the Wonder Bar was a brand new experience for me! I don’t know that we’ll ever do this again either. I feel like I need a good soak just thinking about it he he! Hugs, CoCo