The Horse Farm Project: Painting Dressers & Nightstands
We’re back today sharing tips and tricks for painting dressers and nightstands from The Horse Farm Project.
A lot of you have been following along with this series, thank you so much! If you’re new here, we worked with a fabulous family back in November to help give their home a completely fresh feel. The owners wanted a home with an open concept layout so we worked with several local professionals to take down the wall between the den and the dining room. I can’t even tell you what a huge difference it made! If you need to catch up, you can see how we created an entry here, how we gave the dining room a makeover here and how we gave the den a makeover here.

One of the things I’m most excited about from The Horse Farm Project is how we used pieces of furniture and accessories the homeowners already had and reimagined them in a fresh way. This concept was never more needed than when we decided to take on one of the bedrooms. This space in particular needed a lot of work in that the ceilings had to be scraped and painted, the rest of the room also had to be painted, we needed to install new flooring, purchase a rug, a desk, buy new linens and a few new accessories too.
The biggest portion of our budget for this room went to construction related items like new flooring, painting and the ceiling which meant we had to get really creative with everything else we needed on the “get list.” Just like in the dining room and the den, the homeowners already had great pieces of furniture.

In this case though, the furniture did not fit the vision for the rest of the room. We didn’t sweat it though and you shouldn’t either because with a little sweat equity, a paintbrush and your favorite paint, you can create a look you love. Here’s a peek at all the details from one of the furniture makeovers…(Affiliate links have been provided for your convenience. You can read our full disclosure policy here)

SUPPLIES:
Annie Sloan Chalk Paint in French Linen
to seal
Sandpaper with Varying Grits (we used grit-80, grit-120 and grit-220)
Tarp
Cup of Water
Lint Free Cloth
Wax brush or brush to apply polycrylic
Respirator
Safety Goggles

FURNITURE PAINTING TIPS AND TRICKS TO REMEMBER:
- Before you start any project like this one, make sure you’ve protected your head with protective eyewear and a respirator as well as protected your body with protective clothing.
- Place a tarp under the area you are painting to protect the surfaces from paint and dust. My dad rigged this system up for me because we were painting multiple pieces of furniture outside at once and I needed a way to paint without getting grass or dirt in my paintbrush. As always, use caution and care when setting up your paint and work station so they are safe and stable at all times.
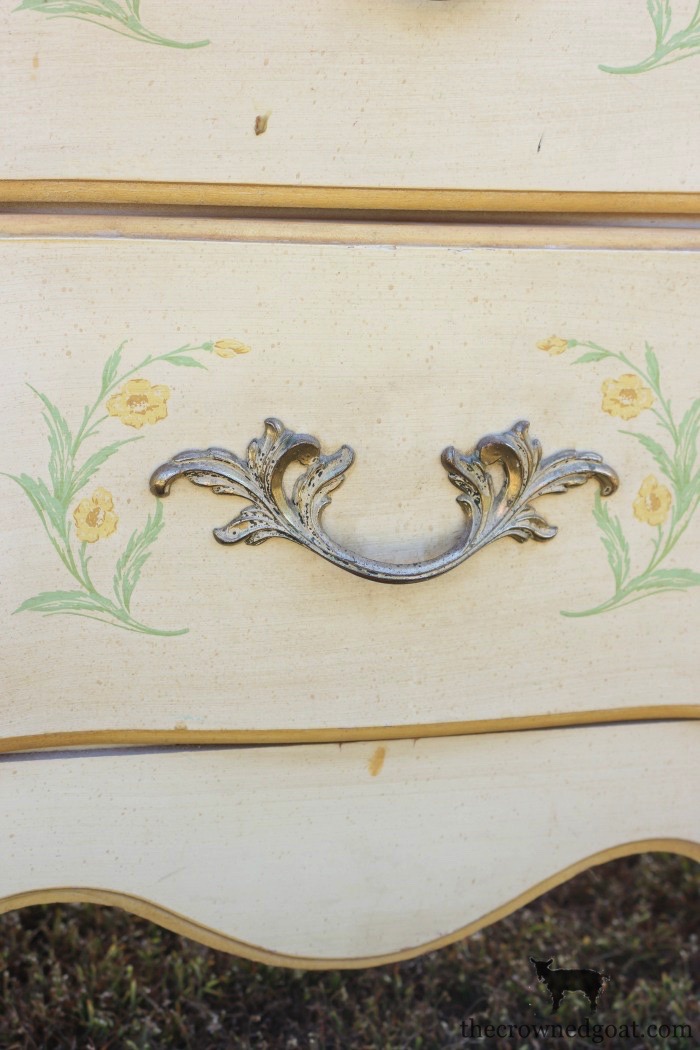
- If you’re painting a piece of furniture that has shine too it like this one did, you’ll want to use a sander to take away the shine and give your piece of furniture some tooth. Using a graduated system of sandpaper (we used grits 80-220) will help you smooth out those squiggle-y lines that sometimes accompany an orbital sander finish. It will also provide a better quality foundation for the chalk paint to adhere.
- Take out all the drawers and use a shop vac to clean up any dust or debris that may have gotten in between the drawers.
- Make sure your paint (we used Annie Sloan Chalk Paint in French Linen) has been well mixed prior to painting.
- I almost always start with a wet brush technique meaning I dip the paintbrush into a cup of water then blot the excess water off on a lint free cloth before dipping the paintbrush into the paint.
- It is better to paint multiple thin coats than one coat that is too thick, so take your time. I did 3-4 thin coats of paint on both the dresser and the nightstand allowing plenty of time to dry between coats of paint.
- Allow your piece of furniture to dry completely before sealing with your favorite matte polyacrylic or a clear furniture paste wax.
- Don’t forget to buff your piece of furniture with a lint free cloth if you choose to apply furniture paste wax.

I hope these tips have helped! I’ve been painting furniture for years now and it never ceases to amaze me how much of a difference one container of paint can make. It can honestly transform an entire space! I’ll share more from the bedroom makeover with you tomorrow but for now here’s another look at the nightstand before…

and after we used Annie Sloan Chalk Paint in French Linen…

As well as the dresser, before…

and after also using Annie Sloan Chalk Paint in French Linen…

I completely understand that every piece of furniture may not be a candidate for paint. That being said, it’s also one of the easiest ways to change the look of a piece of furniture especially if you’re trying to be respectful of a budget!
I can’t wait for you guys to see the rest of the bedroom tomorrow, you’re going to love it! Until next time, I’ll see you on Instagram, Facebook and Pinterest.
Many blessings,
CoCo


I love the dramatic makeover. It helps to save money when you can.
The color can go with anything.
French Linen is one of our favorites too and I’m so with you definitely save money when and where you can! Hugs, CoCo
Oh my gosh CoCo – such a sophisticated and stylish look! We too love and appreciate the power of paint. It breathes new life into a well loved piece of furniture for a total new vision. Fabulous job!
I couldn’t agree with you more ladies! The power of paint never ceases to amaze me and I appreciate your kind words so much. Big hugs, CoCo