Dollar Tree Glass Glitter Pumpkins
It’s Miss Mustard Seed Monday! We’re sharing our Dollar Tree Glass Glitter Pumpkins as we countdown to the launch of Marian’s new book, Feels Like Home.
The book officially launches on October 12th but Marian has been revealing lots of fantastic pre-order bonus content goodies and giveaways each week on her blog.
Be sure to grab your copy and follow along so you don’t miss anything!

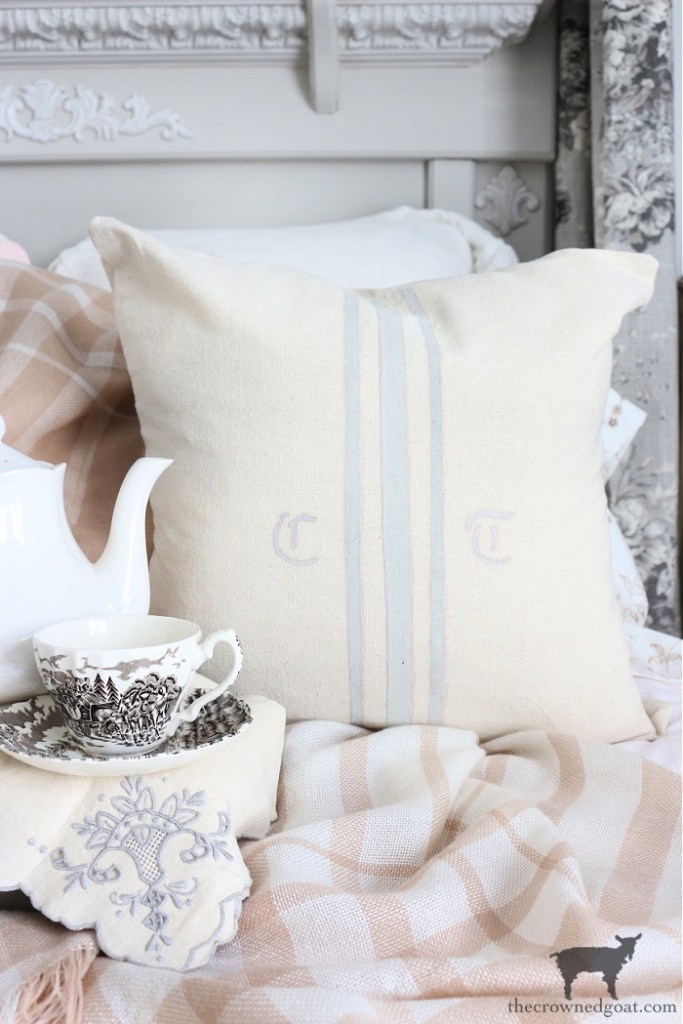
If you missed last week’s installment of Miss Mustard Seed Monday, we dug into Marian’s archives to recreate grain sack pillow covers.
They were super easy to make, and you can use them throughout the year no matter what the season because they’re so neutral.
Bonus, you can completely customize the pillow covers based on whatever goes best with your décor!
This week, we’re diving back into Miss Mustard Seed’s archives to create glass glitter pumpkins!
I had never ever heard of glass glitter until I saw it on her blog years ago as part of a festive Halloween tablescape.
Once I saw her glitter everything from letters, to pumpkins, to pinecones, I was totally hooked though.
At the time I started working on these glass glitter pumpkins, real pumpkins hadn’t hit the stores in my part of Florida yet.
I headed to the Dollar Tree to see if they had any foam pumpkins still in stock. Thankfully, they had plenty.

Here’s a look at how to make Dollar Tree Glass Glitter Pumpkins…
Glass Glitter Pumpkin Supplies:
- Pumpkins (We used foam pumpkins from the Dollar Store)
- Glass Glitter (We used both silver and gold glass glitter)
- Spoon
- Pumpkin Stems (We used sticks from our yard)
- Glue (We used Mod Podge in a Matte finish)
- Spray Adhesive, optional
- Spray Paint, optional (We used Krylon in Dover White)
- Craft Paint (We used Americana Décor Chalky Paint in Primitive)
- Small Art Paintbrushes
- Dark Furniture Paste Wax (We used Annie Sloan Dark Furniture Paste Wax)
- Gloves (Make sure they’re thick enough to protect against the glass glitter)
- Wax Brush or Lint Free Cloth
- Tarp or Kraft Paper (to protect your worksurface)
Glass Glitter Pumpkin Steps:
Gather your supplies and lay a tarp or kraft paper down to protect your work surfaces. The foam pumpkins we picked up from the Dollar Store were bright orange.

So, we removed the green stem,

and applied several coats of Krylon spray paint in the color, Dover White, to give it a creamy white base. As always, use caution and care when spray painting. And be sure to paint in a well-ventilated area.
If you’re new to spray painting, you can find our favorite spray painting tips and tricks here.

Once all the coats of spray paint were dry, we applied a 50/50 wash of water and Chalky Paint in Primitive on the pumpkin to give it an additional layer.


After the wash was dry, we applied dark furniture paste wax to give the glass glitter pumpkin a bit of patina. Be sure to rub the wax in well so it doesn’t make your pumpkin sticky.
A little wax goes a long way!

While the wax is setting, use a small art brush to apply a coat of glue onto your pumpkin stem. We used sticks from our yard. But you can use a real pumpkin stem if you have it on hand.
Keep in mind, you’ll need to make sure your stick or stem is free from pests, dirt, and debris by giving it a bleach bath. Allow it to dry completely before applying the glue or the glass glitter.
You definitely don’t want to bring any critters inside your house!
On a side note, how much does my old paintbrush look like the stick from the yard 🤣 I think it’s time for an upgrade 🙌

Next, we used a spoon to scoop up the glitter glass, gently spreading it over the stem, and knocking off any excess glass glitter back into the box.
Again, use caution and care as you do this step – glass glitter is made from actual shards of glass.

Insert the stem into the foam pumpkin.

Then begin adding glue around the stem of the pumpkin as well as on top. We added enough glue so our glass glitter would look like it was just spilling over the top of the foam pumpkin.

Next, we added silver glass glitter to the top of the pumpkin with a spoon being careful to tap off any excess glitter.

To seal, we used a light coat of spray adhesive and allowed it to dry completely.

Crafting Pumpkins this Fall…
I know it might seem like a lot of steps to make these Dollar Tree glass glitter pumpkins, but I promise they were super simple.

Besides, when is the last time you let yourself settle in for an afternoon of crafting?
Are there things on your Pinterest boards you’ve been meaning to DIY for years but just haven’t made the time to do it yet?

Fall is a great time to tackle the projects both big and small you’ve been putting off. It’s also a fantastic time to create a cozy and inviting home that meets your needs and the needs of your family.
So, get started today!

Let us know if you’ve ever made glitter glass pumpkins before! Until next time, I’ll see you on Instagram, Facebook and Pinterest.
Many blessings,
CoCo


These are adorable and I live how these are styled too.
Pinned
Thank you bunches, Cindy, I really appreciate it! They were so much fun to make too. Hugs, CoCo
I really loved the finished look that the different layers of paint and paste wax helped to create. This is such a lovely Fall decor idea… and so inexpensive! This would look good in so many different rooms.
Thanks so much, Heidi! They were so much fun to make too and definitely easier than I thought they would be. It’s nice to take the time to settle in with a craft this season. You know we love anything pumpkin! Hugs, CoCo
Marian was one of the first bloggers I started following way back when. I’ve always loved her style and creativity. And she lives in the same state as I do! LOL! LOVE, LOVE, LOVE these sweet glitter pumpkins, my friends! They would be just darling in a centerpiece!
Aww thanks so much, Christine! Marian is such a creative lady. I swear I don’t know how she keeps all the balls in the air but she’s so much fun to watch. These pumpkins were messy but super easy to make and you’re right they’d look fantastic in a festive centerpiece. Hugs, CoCo
CoCo, These pumpkins are amazing!! I love them..So elegant!! Thanks so much for stopping by and for your kind words!! I hope you have a great weekend!!
Hugs,
Debbie
I really appreciate it, Debbie, thank you so much! Hope your week is off to a great start, CoCo
An afternoon of crafting sounds like so much fun! I am so excited to get Marion’s book!! You were brilliant to highlight some of her past projects in celebration of the book!! Pinning 😊
Thank you so much, Cindy! It’s been so much fun revisiting some of my favorite posts from Miss Mustard Seed’s archives. I swear she is so creative and inspiring. I can’t wait to hear what you think about the book. Next Tuesday is the big day! Hugs, CoCo
The shine is so pretty and subtle! The glitter detail on the stem is a really nice touch. And of course your styling is wonderful as usual.
Thank you so much, Marie, I really appreciate it. They were messy but totally worth it 🙌 Hope your day is a special one, CoCo
Love the glitter—so pretty!
I really appreciate it, Nancy, thank you so much! Hope your week has been a fun one so far, CoCo
Great makeover for those dollar store pumpkins – they are so versatile! Thank you for sharing at Party In Your PJ’s.
Thanks so much, Ann, I really appreciate it! Hugs, CoCo
CoCo, you always have great crafts. I really love the thought of glitter pumpkins – so pretty and sparkly!
Thanks so much, Rachelle, I really appreciate it! Hugs, CoCo
These are so pretty!! I love glitter…it’s so fun to use!!! You did a wonderful job of turning fake looking dollar store pumpkins into magical decor!
I really appreciate the sweet words, Rachel, thank you so much! Hugs, CoCo