How to Personalize Hot Drinks with a DIY Stencil
Today, we’re sharing how to easily personalize hot drinks with a DIY stencil!

As the hustle and bustle of the holiday season sets in, I’m a big believer in carving out time for a morning routine.
Waking up to a steaming cup of coffee is a small luxury I look forward to every day and I know many of you feel the same way.

On the weekends, I like to take a bit of extra time to linger over a cup of hot chocolate or a peppermint mocha wrapped up in a blanket reading a magazine from cover to cover.
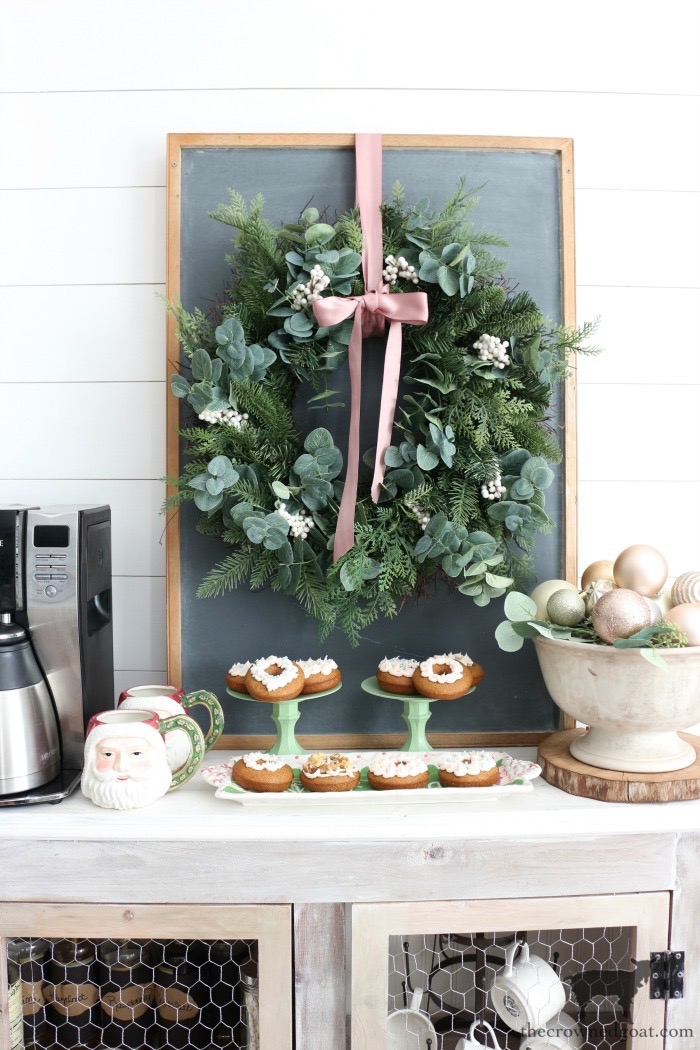
While it doesn’t happen as often as I would like, when it does, I try to make it a celebration complete with gingerbread cake donuts.
No matter if you’re setting time aside to relax and enjoy a seasonal sip or planning brunch for your pod, consider personalizing hot drinks with a DIY stencil.

It’s a project that’s easy to make (depending on the stencil you choose), can be completed in an afternoon, and used all season long!

Here’s a look at how to personalize hot drinks with a DIY stencil…
DIY Hot Drink Stencil Supplies:
- Craft knife
- Cutting board or self-healing cutting mat
- Plastic lid (I used the lid from a yogurt container)
- Stencil (I used a letter but you can use any shape/image you like)
- Pen/marker
*You’ll also need a drink in a mug with foam or whipped cream on top and a shaker full of your favorite spice depending on your drink choice (I used a mocha and nutmeg combination)
DIY Hot Drink Stencil Steps:
Using a clean and dry lid (I saved this one from a yogurt container)

place a stencil of your choice on top of the lid.
I found this set at a local home improvement store. But you can use whatever stencil you want.

Trace the outline of your stencil with a pen or marker.

Using safety precautions and care as the craft knife will be sharp, cut out your stencil.
Just a heads up, the rounded corners were a little tricky to cut. Keep that in mind when you’re choosing a stencil.
The craft knife will be sharp. The edges of the cut stencil will also be sharp. So, take extra time, caution, and care with this step.
Lightly sand the edges of the DIY drink stencil as needed to make them smooth.
Make sure you wash and dry the stencil thoroughly before moving on to the next steps.

Again, if your drink is a hot one you need to use caution and care.
You’ll also need to make sure your drink has milk foam or whipped cream on top. That way, the image will show up clearly.

Once you have the stencil ready to go, place the lid over your beverage of choice.

Shake the spice of your choice over the stenciled lid. I used nutmeg and mocha. But you can use whatever goes best with your drink.

Carefully remove the lid to reveal your DIY drink stencil pattern. Super cute, right?

A Seasonal Gift Idea
You can easily personalize hot drinks with a DIY stencil in the mornings, afternoon, or for a late-night treat – it’s that simple!
You can also place this DIY stencil in a gift basket. Be sure to include a favorite hot chocolate or seasonal drink recipe with Christmas cookies and a fun mug too.

This is definitely one of those easy ideas that can be dressed up or down. So, get as fancy as you want!

Taking time to slow down and savor the season with acts of self-care no matter how big or small is so important.
You’re absolutely worth the effort!

Let us know if you make this DIY hot drink stencil. And your favorite ways to relax during the holidays too!
Other Seasonal Food Ideas to Enjoy:
- How to Create a Festive Marshmallow Bar
- Fall Inspired Outdoor Dessert Buffet
- Valentine’s Day Dessert Buffet
- Quick & Easy Raspberry Iced Coffee
Many blessings,
CoCo


I’ve never seen anything like this before, CoCo, you have the best ideas!
I appreciate it, Casey, thank you so much! Have a fabulous day, CoCo
I was going to give your simmer pot in the jar to my kids teachers but this makes me want to change my mind ha ha! LOVE this idea 🙂
That’s sweet of you to say, Sarah! Both projects are really easy so maybe give the simmer pot recipe as the gift and make a the drink stencil for yourself. Hugs, CoCo
Sometimes I look at your projects and think it’s over my skill level but this I can absolutely do. Thank you for sharing this!
You are so welcome, Bonnie, you can definitely do this! The hardest part of this project is the curves on the stencils 🙂 Have a great day, CoCo
Great idea! This will be great for hostess gifts too
Yes, it would LiLi! Every host I know needs to put her feet up a bit after having people over so this would be a treat to look forward to. Hugs, CoCo
Just stop it with the cuteness! This is a fantastic idea CoCo, but…where’s the “V” and the “J”? 🙂
I’m sure the V and the J are somewhere in the crate to GA 🙂 Thank you bunches for your sweet words! Hugs, CoCo
This is such a cute idea! Thank you so much for sharing it with us at Farmhouse Friday!
I really appreciate it, Michelle, thank you so much! Hugs, CoCo